If you follow our Instagram takeovers on Orlando Moms Collective’s Instagram, you might remember I’m a sucker for a DIY project. My house is an ongoing renovation, fixer upper, DIY project, and I recently decided to tackle a DIY makeover of my laundry room. This is phase one, as I have grand plans for the overall room but my budget isn’t as vast as my imagination.
My goals for this room: light and airy feel, functional and budget friendly.
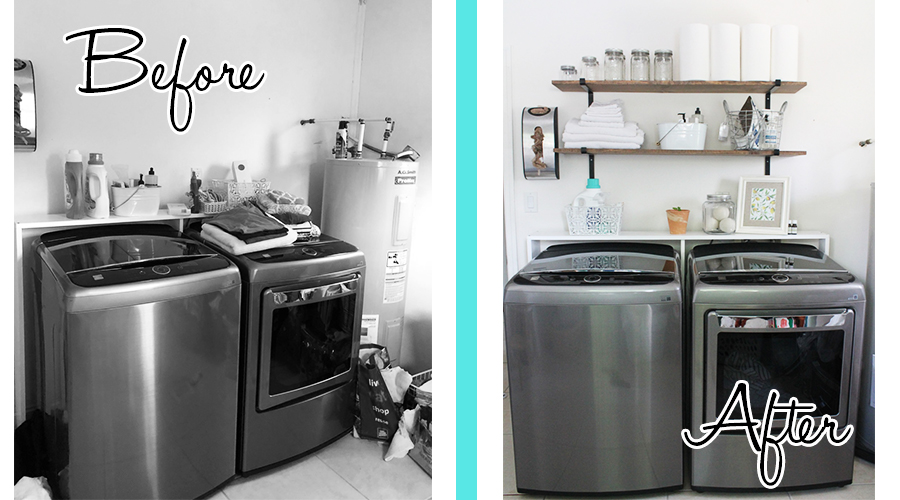
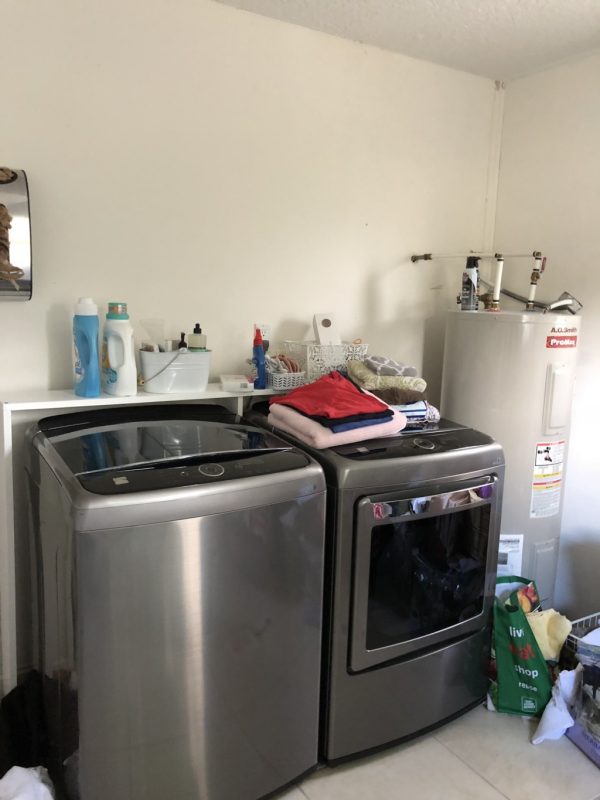
Before
This laundry room is a blessing and a curse. It’s actually a fairly large room and a blank canvas which has been more of a challenge than I anticipated. We moved in, purchased a used washer and dryer but this room had zero storage. It didn’t have shelves or cabinets. About 2 months ago, the washer and dryer bit the dust and now with a new shiny washer and dryer, I was desperate to make the space more functional. I don’t know about you, but I spend a lot of time doing laundry. Is it so much to ask to want to enjoy the space when you’re not a fan of the task?!
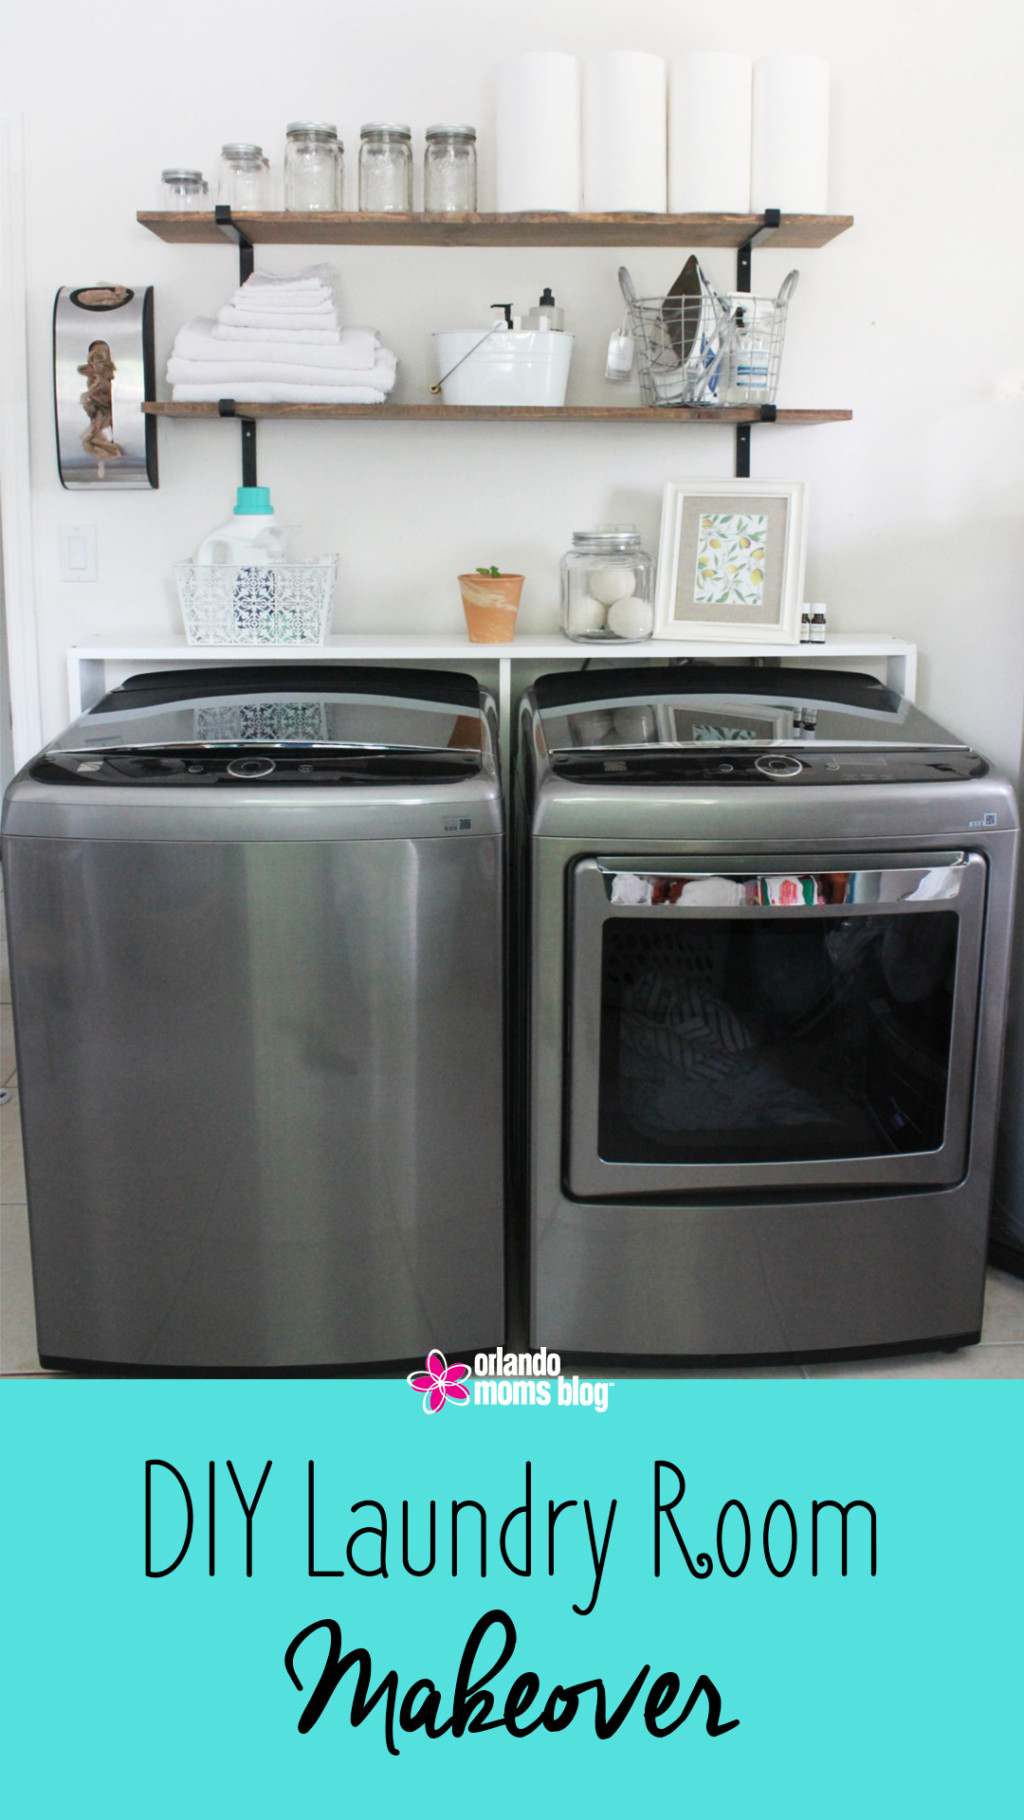
After
Oh happy day! I was super excited to get this project wrapped up in less than 2 days and less than $100. This laundry room makeover was one of the most satisfying DIY projects I’ve done. It took very little time but made a huge impact immediately. I still have some additional things I’d like to change in the future, getting the giant eye sore of a water heater out would be lovely. Finally committing to a drying rack would be great. A folding table would be divine. But, I’m so happy with how it turned out and it’s exactly what I had in my head.
The details
Behind the Washer/Dryer Shelving
Many hours were spent searching Pinterest for the best storage solutions. Open shelving always captures my attention. I toyed with the idea during my kitchen renovation but I just couldn’t commit to open shelving in such a well used space. This makeover was my chance!
My super handy husband helped me with a behind the washer/dryer shelf that we painted white with some left over paint we had from painting molding in the kitchen. It’s just 4 pieces of wood, three legs and a top. We painted it white to help it blend in with the space around it. This is for the frequently used items such as detergent, stain treatment spray and dryer sheets/dryer balls. But we needed more.
More Shelving!
My needs in this room were:
- storage for excess paper goods and mason jars,
- storage for rags and cleaning supplies
- and a space saving place to hang dry delicates.
We accomplished almost all of this. We bought and cut down boards to 9.5 inches wide and 4 feet long. I wanted them to fit inside of the width of the washer and dryer, while not jetting out too far and feeling obtrusive in the space. I sanded and stained them with 2 layers of Miniwax stains for a slightly darker than driftwood but still a hint of grey, look. First, I used Early American and allowed it to dry before adding Classic Grey.
For shelf brackets I considered piping (for an industrial look) but the round piping just didn’t feel secure enough to me. Off to Etsy I went and found the perfect black iron brackets. The cost of wood came out to about $40 and the brackets were only $34 total!
Decorating
On to the fun stuff! I’ve mentioned that functionality was key for this makeover. The first white shelf is for easy to grab items, used most often. I bought a white basket from Five Below a few months ago, for my daughter’s room. It didn’t work in her room. I was secretly excited and it goes perfectly in my laundry room! I use it to wrangle the detergent, stain spray and dryer sheets. I’ve been trying to make the push to reduce the amount of chemicals we use. I purchased some dryer dryer balls from Grove Collaborative. Storing them in a glass jar helps make them easily accessible. I added a picture frame to bring in color and hide the ugly cord and washer dryer connections. And finally, my favorite essential oils that I use on the dryer sheets; lavender and sweet orange.
On the second shelf, I folded some of our all-white rags. The others I stored in a canvas bin. I also added my cleaning caddy, also from Grove Collabrative and a grey basket that holds ironing things, from JoAnn Fabrics. I was looking for strategic places to put essentials. I used a grey basket from JoAnn’s to hold ironing essentials.
The top shelf is for items I don’t need every day, paper good storage and extra mason jars. I’ve acquired quite the collection in my attempt to move away from plastic and over to glass.
[easy-image-collage id=28118]
Little Changes that make a big impact
If you’re not ready for a full laundry room makeover but want to make a big impact, here are some ideas. My favorite Instagram vlogger, Farmhouse on Boone, shared a tip during her laundry room makeover. She switched out detergents and stain removers from their plastic bottles and adds them to glass containers. It’s genius. You can choose containers that match your color scheme and it instantly feels like a cleaner look.
Baskets are my favorite! Just ask my husband, he constantly finds new baskets on reserve from my visits to HomeGoods. The best part, they hide non-matching items while still adding style. If your look is more modern or farmhouse, they’ve got a basket for that.
[easy-image-collage id=28119]
Have you completed a laundry room makeover? What’s your must have laundry room essential?

