Fall is here, and it’s peak crafting season and the perfect time for easy fall projects. One of my favorite crafts is sewing. I started sewing a little over seven years ago, when I was pregnant with my firstborn. Sewing is therapy for me; it keeps me grounded when I’m stressed. We all know how stressful the holiday season can be, so I wanted to share with you all a beginner-friendly fall sewing project.

Easy fall project: Pillowcase/trick-or-treating sewing tutorial

This tutorial will take you step by step on how to make your own pillowcase that doubles as a trick or treating bag. And guess what?! This pillowcase will not fray because we will use a French seam, perfect for items that will be washed frequently. It’s a great project to involve your kids; let them choose the fabric. Another neat thing about this pillowcase is that you can reuse it year after year!

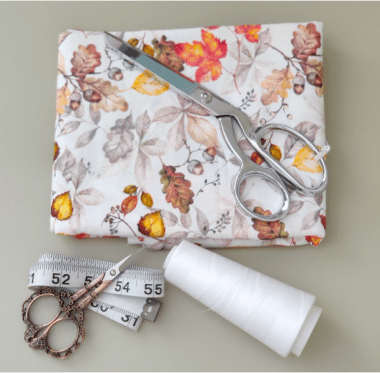
Supplies needed

  • Fall/Halloween themed fabric: 1.25 yards (for this project I am using 100% cotton fabric)
  • Coordinating thread (I match my thread with the color of the fabric)
  • Fabric scissors (Get a pair of these if you don’t have one already; they really make cutting fabric easier.)
  • Measuring tape
  • Thread snips (these aren’t really necessary but it just makes your sewing experience easier)
  • Pins (not pictured)
  • Queen Standard sized pillow (I got mine from Target)
  • a picture of crafty assortments; easy fall project
    Materials needed for this easy all project. Photo by contributor, Frances Mendez.

Step 1: Make sure that you have 1.25 yards of fabric. The measurement in inches should be 45” long. The width of the fabric is standard, but it varies between 42-45” wide. Once you have your fabric ready, cut the selvage.
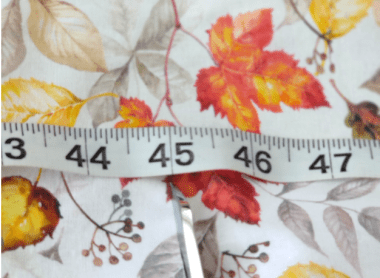
measured fabric
Step 1 for Easy Fall Project. Photo by contributor, Frances Mendez.
pillow with measurement for reference against fabric. Queen pillow measures 20" x 28"
Step 1 for Easy Fall Project. Photo by contributor, Frances Mendez.

Step 2: We’re going to sew the French seam; for this, we will have the fabric folded in half, right sides facing up. Using a ⅜” seam allowance, you will only sew the raw edges because we don’t need to sew the side that is folded. You can use pins to hold the fabric together.
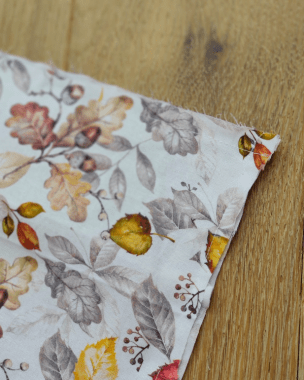
piece of fall fabric for easy fall project for the pillowcase
Step 2 for Easy Fall Project. Photo by contributor, Frances Mendez.

Step 3: Flip the pillowcase wrong side out. You should have the right sides facing inside and the wrong sides up. Using a ½” seam allowance, sew the side and bottom seams.
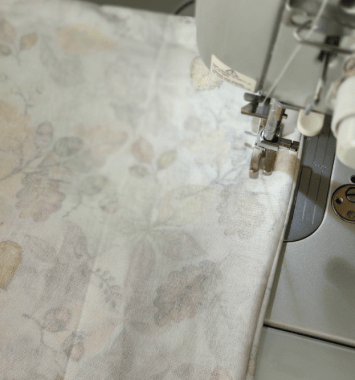
sewing machine sewing inside out of fall fabric
Step 3 for Easy Fall Project. Photo by contributor, Frances Mendez.

Step 4: Turn the pillowcase right side out and snip any threads that might be showing (it happens sometimes when the fabric frays while sewing).

At this point, your pillowcase should look like the picture below.
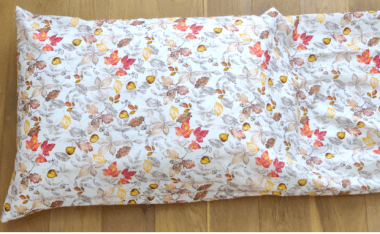
queen pillow inserted in fall fabric with a lot of fabric left over.
Step 4 for Easy Fall Project. Photo by contributor, Frances Mendez.

Step 5: Go to the remaining raw edge of the fabric and fold the fabric toward the inside 5 inches, and then fold again. Use pins to hold fabric.
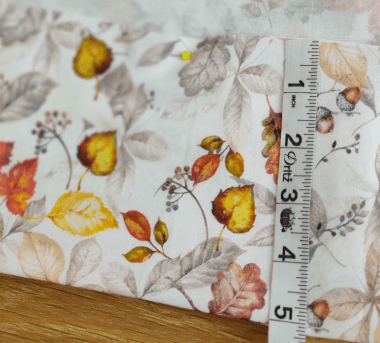
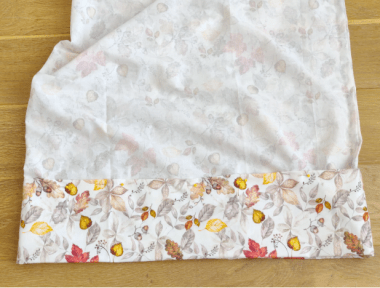
measuring folded over edge of inside out fall fabric to 5 in
Step 5 of Easy Fall Project. Photo by contributor, Frances Mendez.
inside out fall fabric showing the folded over edge
Step 5 of Easy Fall Project. Photo by contributor, Frances Mendez.

Step 6: Using a ⅜” seam allowance, stitch across the edge of the folded part. All done!!! You now have a handmade pillowcase for fall and your kids will have a HUGE trick-or-treating bag!!
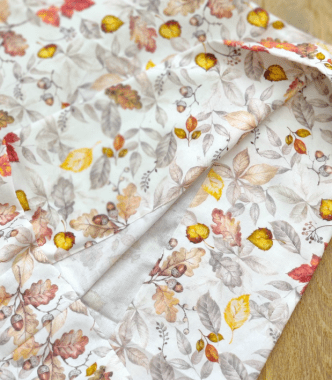
finished product of folded over edge sewed.
Step 6 of Easy Fall Project. Photo by contributor, Frances Mendez.
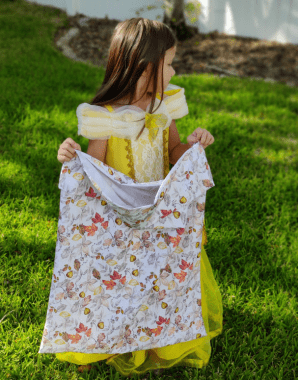
young girl in belle costume looking away from camera holding up the finished pillowcase ill use as a trick-or-treat bag.
Final product of Easy Fall Project. Photo by contributor, Frances Mendez.


Previous articleGuide to Shop Local Businesses
Next articleBuilding Up Challenge: November
Frances Mendez
Born and raised in Fajardo, Puerto Rico. Mother of a 7 year old boy and 6 year old girl and wife to an amazing husband. She’s new to Orlando but not new to crafting. When she was 9 years old she and a friend made 25 bracelets with lace, string, hot glue and velcro and took them to school expecting to sell one or two. To her surprise, they sold all of them, although Frances went on to sell Pokemon cards after that, she always knew she liked both crafting and business. She obtained a bachelor’s degree in International Business in 2012. When she was a few weeks shy of her 24th birthday, using all of her savings, she bought a repossessed 2 story house with 2 apartments on the second floor, so she was a landlord for 9 years before the house was sold. When she was pregnant with her oldest in 2016, she felt a strong desire to sew, she had always liked the idea of sewing but never really used a machine before. Her husband bought her a sewing machine for Mother’s day and she soon became obsessed with sewing, which then led her to start Crafty Franny. While Crafty Franny has been through many different stages, one thing has remained the same, Frances loves to craft. Crafty Franny is an active member of the Avalon Park Arts and Culture center and also offers sewing classes to the Avalon Park community.

LEAVE A REPLY

Please enter your comment!
Please enter your name here