Fall is right around the corner! Raise your hand if you’re ready for everything pumpkin and to break out the fall decor?!
Fall is such a wonderful time for the kiddos. I love pumpkin patches, fall festivals and the holidays we celebrate during this time. Something else we love to do during new seasons and holidays is to work on crafts. What I love about crafting with kids is that is causes them to practice those motor skills and use their imagination. Below are some fun fall craft ideas for kids!
The paper plate wreath:
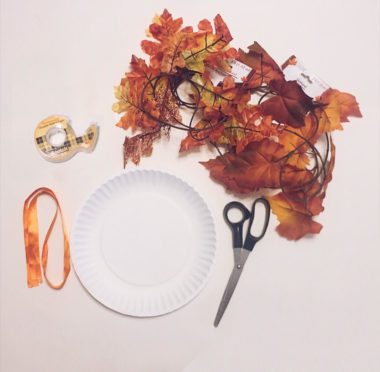
Materials needed: A paper plate, scissors, ribbon, tape and fake leaves.
Step 1: Cut the middle of the plate out, leaving it with a big open hole in the middle.
Step 2: Stick double sided tape all around the plates edges.
Step 3: Stick the leaves onto the tape.
Step 4: Tie the ribbon around the plate and hang it were every you’d like!
Handprint leaves:
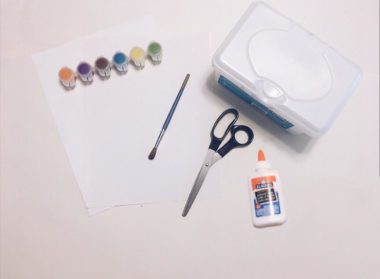
Materials needed: paint, scissors, paintbrush,wipes, 3 or more sheets of white paper (depending on how many leaves you want to make) and glue.
Step 1: Paint hand.
Step2: Press hand down on the white paper. Try and keep fingers together, giving the print a more “leaf shaped” look. You will want to use the wipes to get paint off hands before putting new paint colors on each time.
Step 3: After creating all the colorful hand prints cut them out.
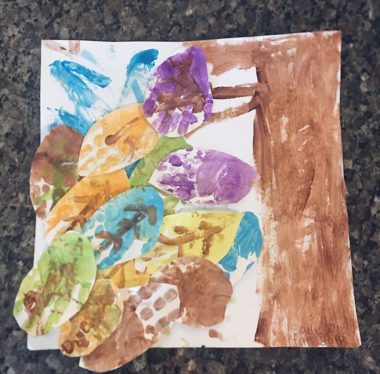
Step 4: Paint lines to give it more of that leaf look. We used the brown paint.
Step 5 (optional) : Hang the leaves somewhere, put them on the fridge, or stick them to a picture. We decided to paint a tree and sky on a larger white sheet of paper then stick the leaves to it.
Paper Plate Turkey:
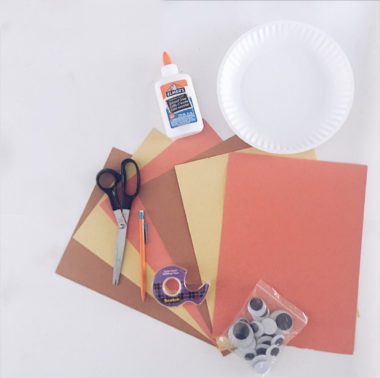
Materials needed: Paper (brown, yellow, orange, and red), tape, googly eyes, scissors, pencil and glue.
Step 1: Trace hand
Step 2: cut out the traced hand. (I layered all the paper together while cutting.)
Step 3: Cut out a brown circle that will cover most of the plate.
Step 4: Used double sided tape to stick the hand prints around the top edges to look like turkey feathers.
Step 5: Glue the big brown circle under the handprints.
Step 6: Cut out an orange beak and red snood.
Step 7: Glue on the googly eyes, orange beak and red snood.
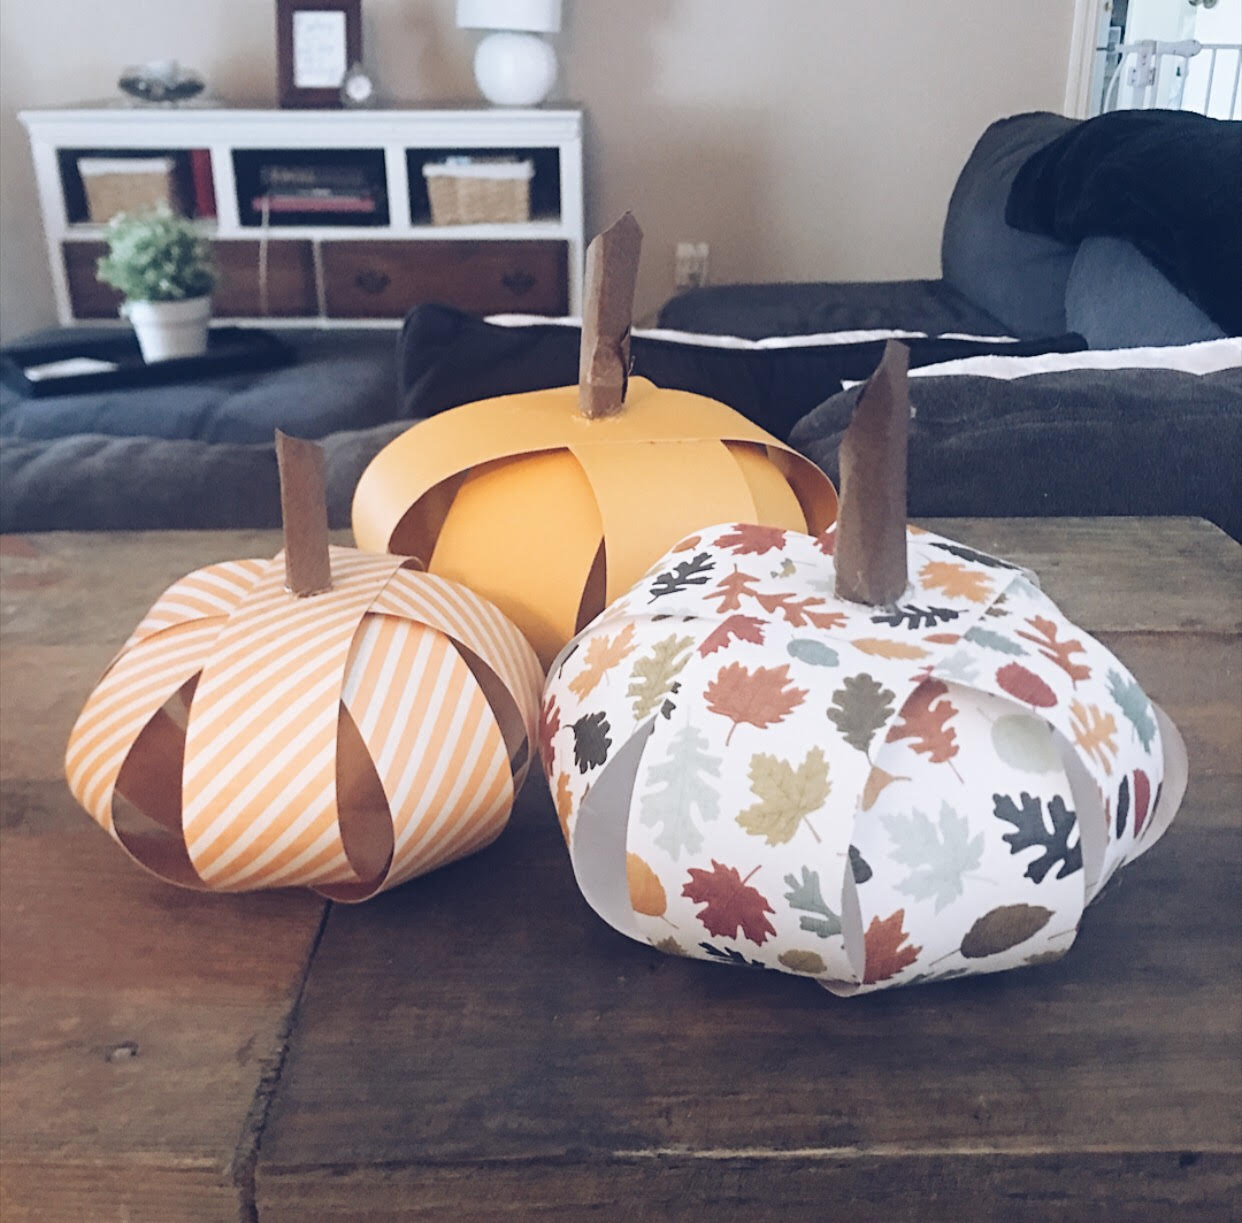
Paper Pumpkins:
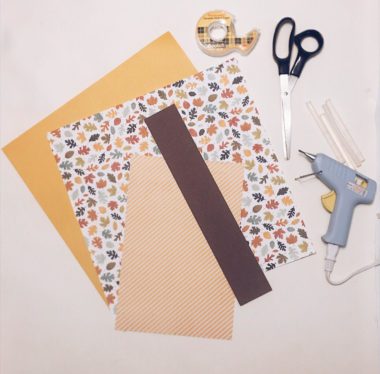
Materials needed: Scrapbook paper (patterns and colors of your choice), brown paper for stem, double sided tape, hot glue gun and scissors.
Step 1: Cute scrapbook paper into even strips.
Step 2: Evenly place each strip on top of one another. It will look like a sun symbol. Make sure you use double sided tape when placing each strip on top of the other.
Step 3: Life the strips up and use double sided tape to tape them together with each strip placed on top of the other.
Step 4: Cut brown paper into a a square then roll it from the corner.
Step 6: Use the hot glue gun to keep the rolled up brown paper together.
Step 6: After the brown paper is rolled. Cut one side of the brown paper leaving it flat so it can rest on top of the pumpkin.
Step 7: Hot glue the brown paper stem onto the the pumpkin. Then voila! you have yourself a cute little pumpkin!
As always, supervise children during the more complex parts of the crafts for safety.


